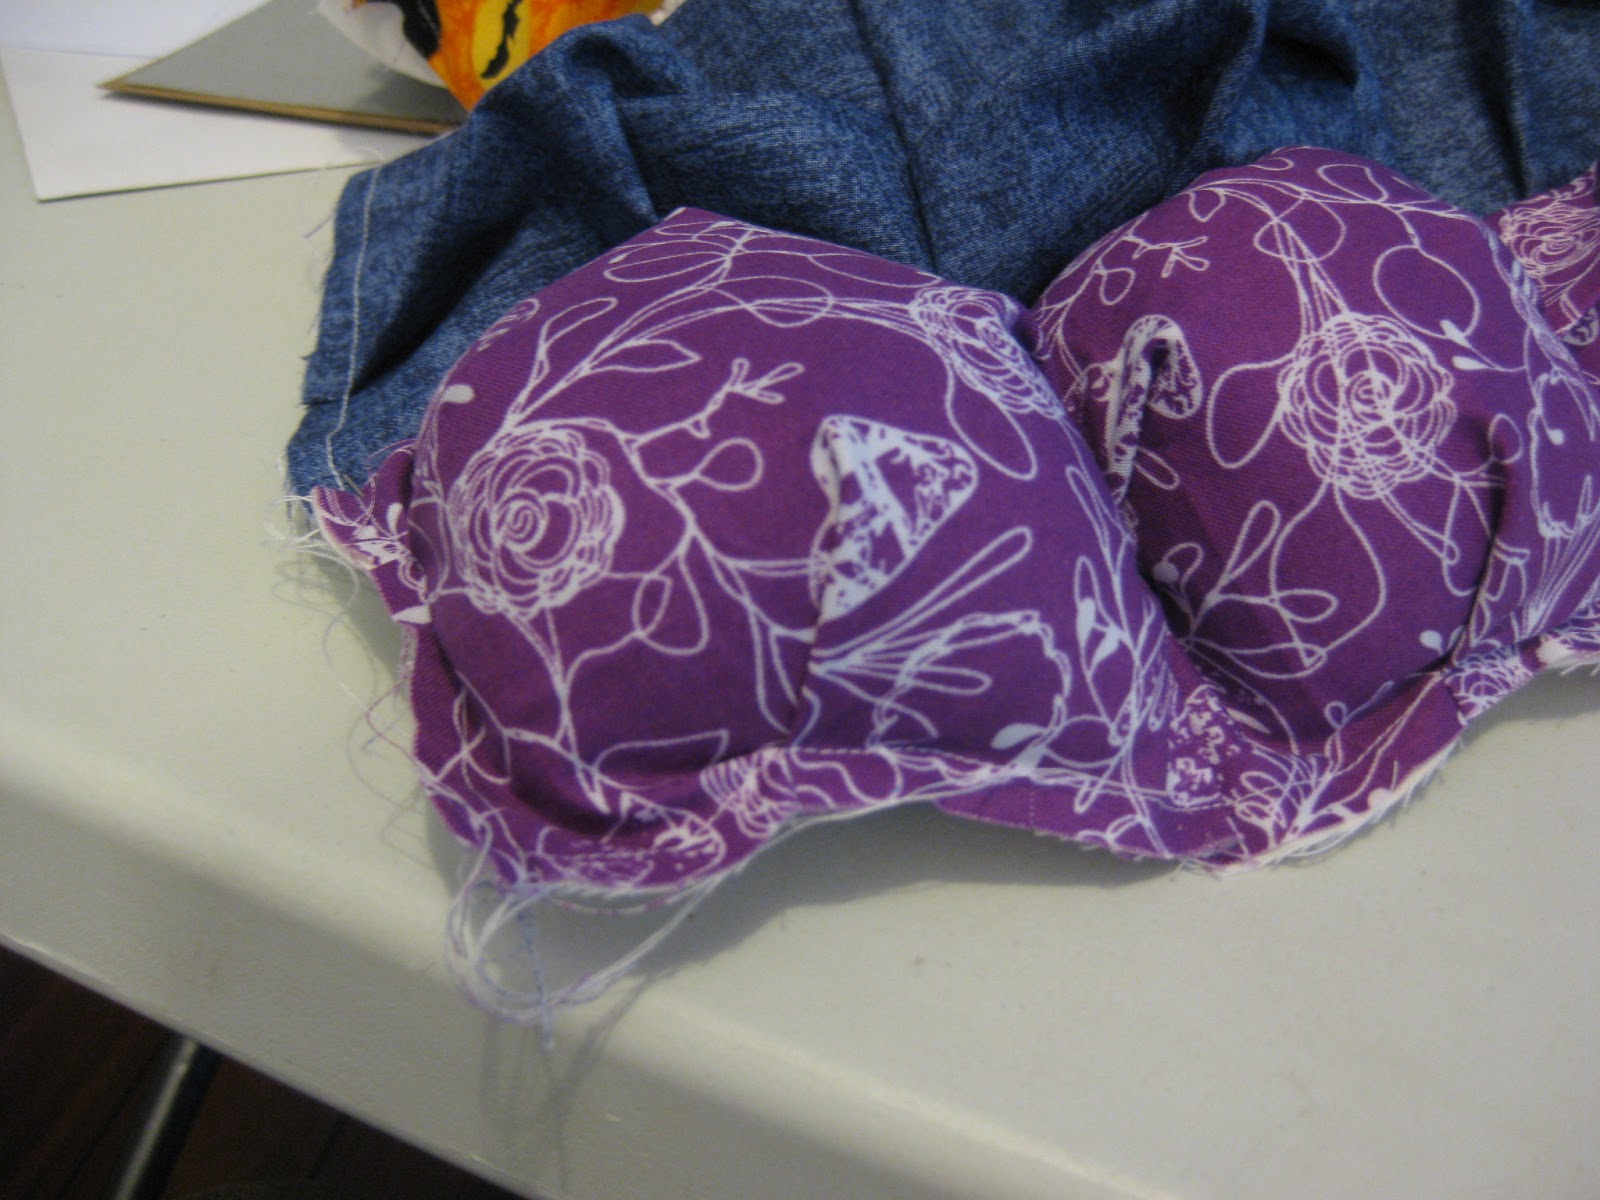
This is the biscuit or bubble quilt, or as many of my friends call
it, the boob quilt. There's a few different ideas of how to do this,
mine have simple pleats on each side with an 11cm base. Enjoy!
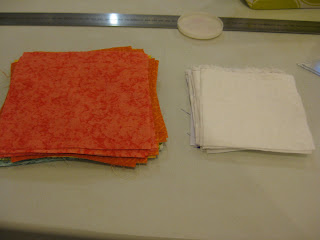 |
| Cut
out 15cm squares in the colours you want, these will be the top of the
quilt (A rainbow or random patchwork design or similar works well,
google will provide inspiration. My quilt had 9 squares in each of 7
colours). Cut the same number of squares in a scrap fabric, 11cm wide |
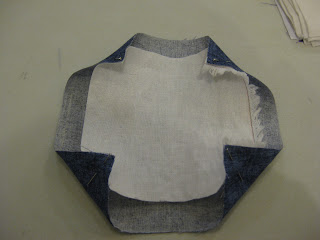 |
| Pin a small square to the WRONG side of the large square at the corners. |
 |
| On each side, make a pleat roughly in the centre | |
| and pin. repeat with each square |
 |
| Sew pinned sections together, and the ends of the rows. |
 |
| When
you've got a whole row of squares pinned, place 2 pleated squares RIGHT
side to right side. Repin pleats together and pin at the corners as
well. |
 |
| Sew
all pinned bits together, and the ends of the row pleats need to be
sewn down as well. For the FIRST row only, sew along the bottom, closing
each square on 3 sides and sewing the pleats down. Repeat with the next
row, NOT sewing the bottom. |
 |
| Pin
the next row of SEWN squares to your first row. I tacked the pleats in
row 1 together, which made stuffing easier. Then pin the first and
second rows together at the seams and at the pleats. |
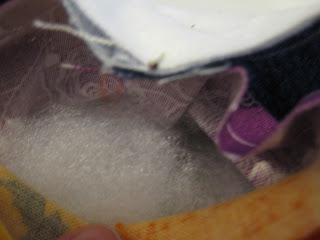 |
| Stuff! When you finish stuffing a bubble, pin your heart out to attach the bubble to its backing and the next row. |
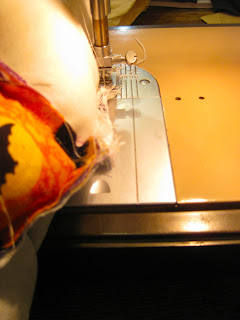 |
| Sew
the very pinned stuffed bubble to the unstuffed bubble row. It gets a
bit fiddly, but I managed with a normal foot and 3/8th of a inch seam
allowance. |
 |
| You
should end up with it looking something like this. I missed a little
bit of the fabric once or twice, but went over it again quite easily.
Repeat this for every row, you may need to go in stages if, like me, you
have a limited supply of sharp pins. |
All
in all, I found this worked very well for me. When you get to the last
row, you just need to sew it all up without sewing it to another
unstuffed row. You should get a lovely quilt top of bubbles and puffy
stuff and they are so much fun to squeeze! Any questions/problems etc,
you're welcome to email me at mara__day@hotmail.com, or leave a comment
on here! If this tutorial isn't to your liking, I know its a bit hard to
follow at times,
Awaiting Ada has a couple of tutorials as well :)